Tutorial
Note: Writerflint is constantly being updated based on user feedback. As a result, some aspects of the tutorial may not reflect the very latest interface and functionality, but it is updated frequently and is the primary place to start learning to use Writerflint.Introduction
We believe that writing is a uniquely effective way to explore, clarify and give life to ideas. However, the process of going from idea to a mature piece of work involves repeatedly refining, reorganising, researching and incorporating feedback. This can be daunting and tedious, so we built Writerflint to smooth the process. This tutorial introduces the main features of Writerflint and shows how you can use them to go from idea to a mature piece of writing.
View flints
Writerflint is centered around a 'flint', which is simply your written thoughts on what you wish to explore.
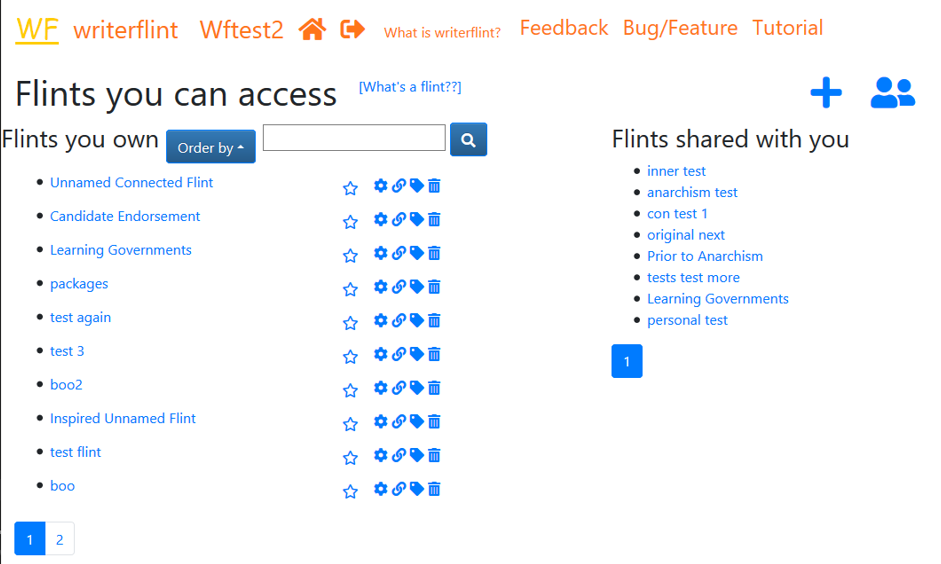
The 'View Flints' page shows a list of the flints
we have written so far, any projects we have organised flints into, and any flints that have been shared with us directly.
This is the point from which most things will be managed. We can always
get back to it by clicking the house icon in the navigation bar at the top
of the page.
Starting off
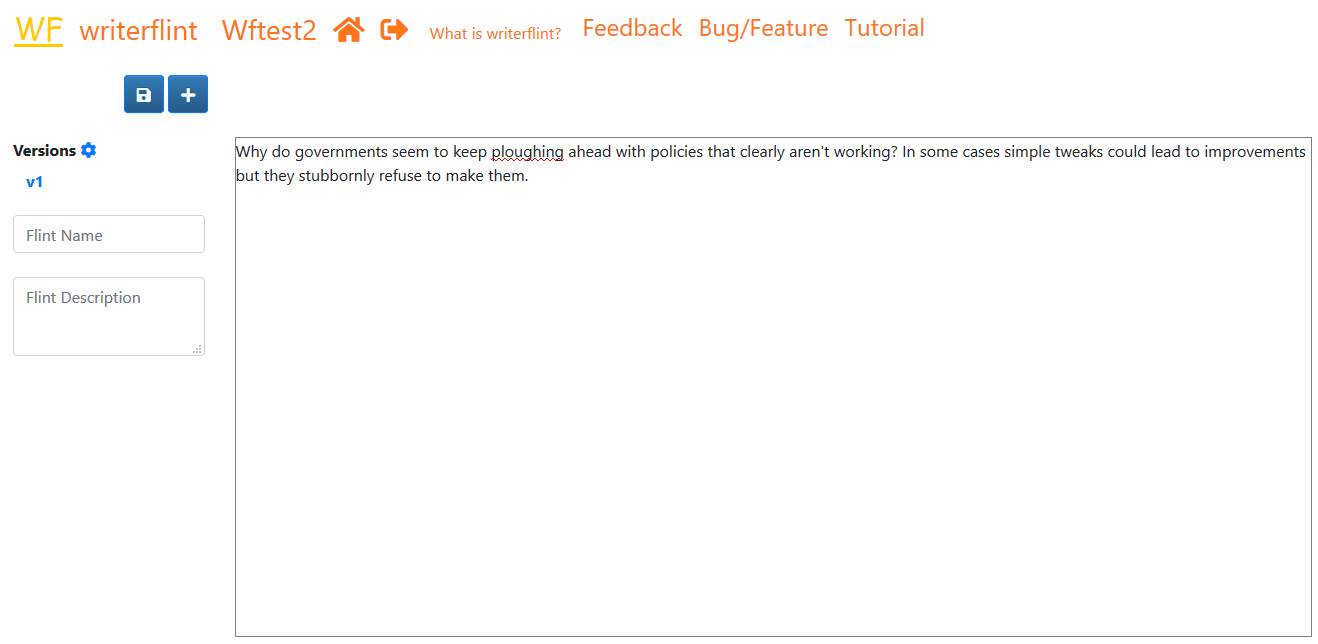
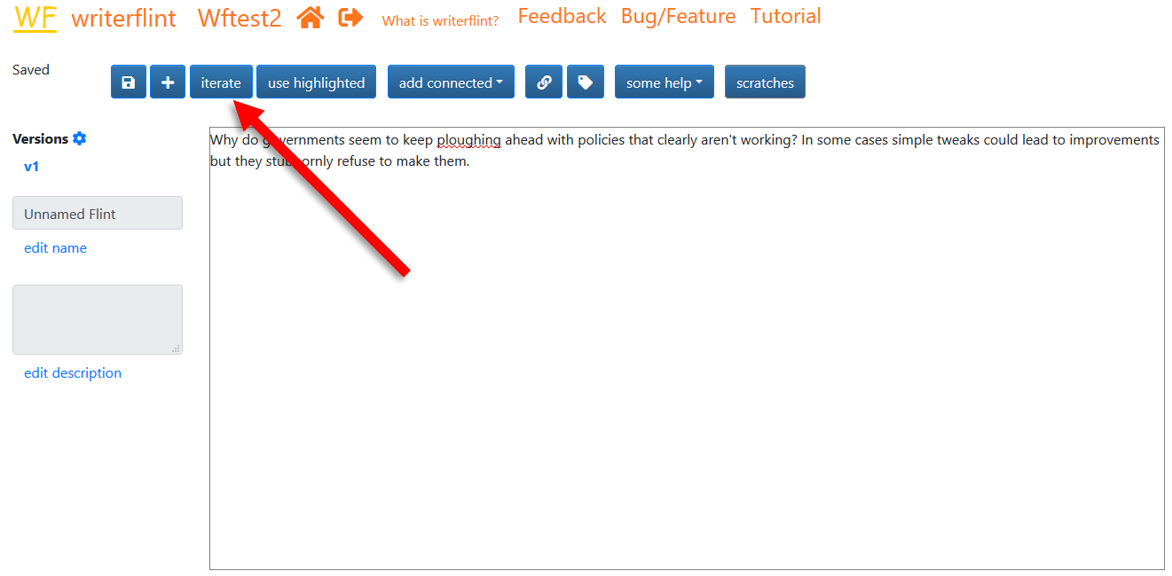
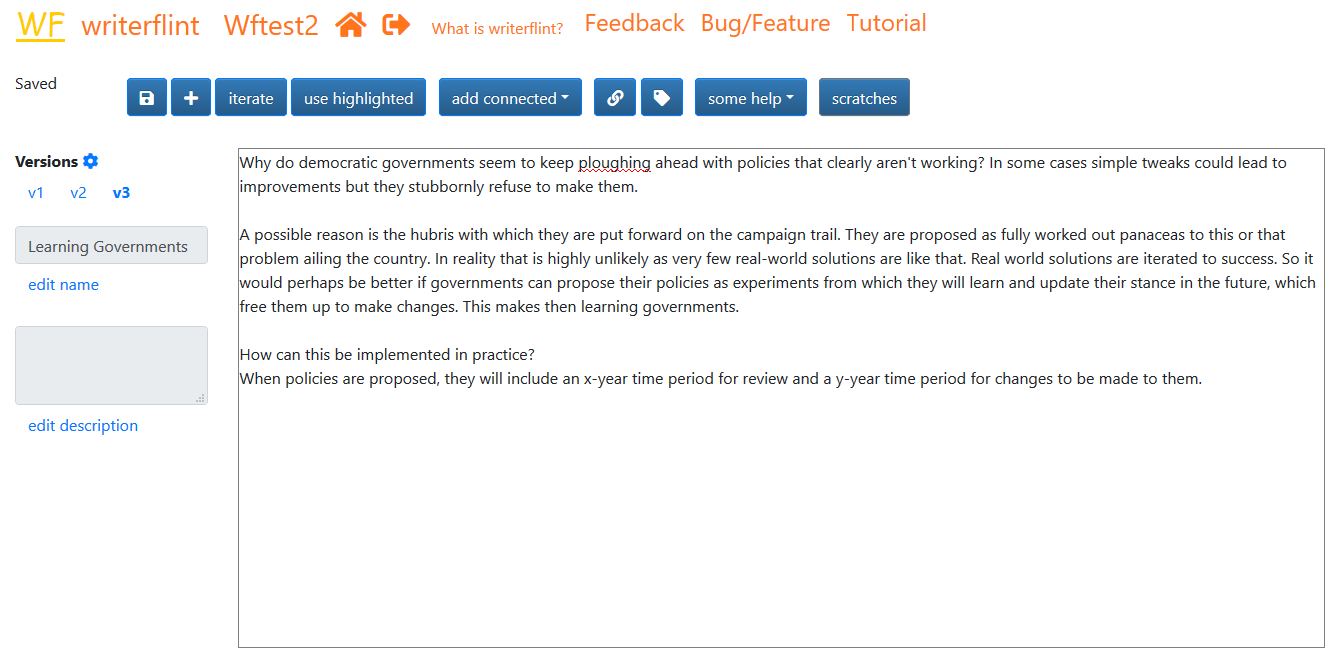
The thoughts we've been mulling over that make us want to flint are something along the lines of: Why do governments seem to keep ploughing ahead with policies that clearly aren't working? In some cases simple tweaks could lead to improvements but they stubbornly refuse to make them.
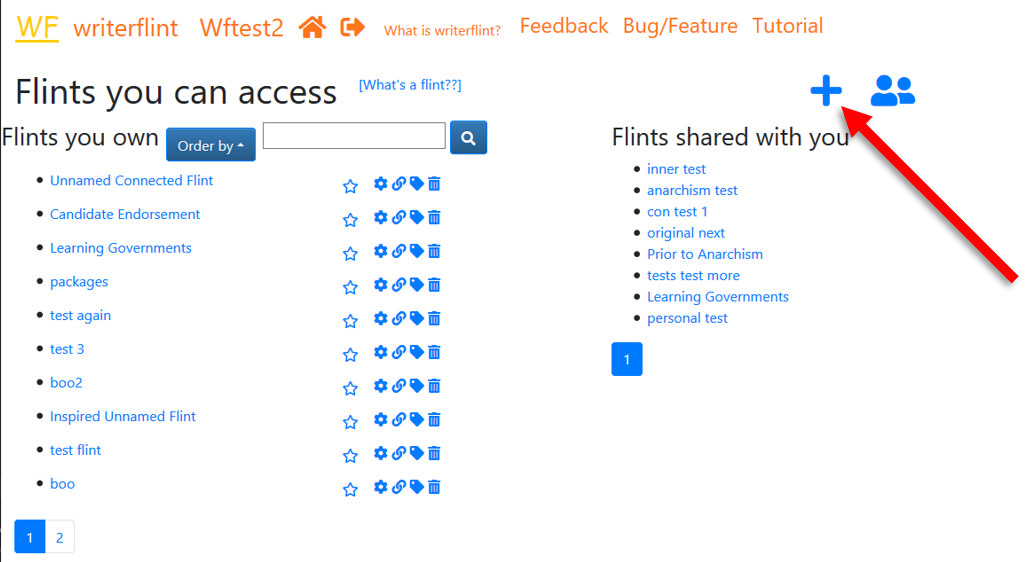
So we'll start a new flint by clickint the '+' icon in the upper right hand corner...
...and add that sentence to get our thoughts on this flint flowing. The text editor uses the Quill editor so it has a range of formatting options and is quite powerful.
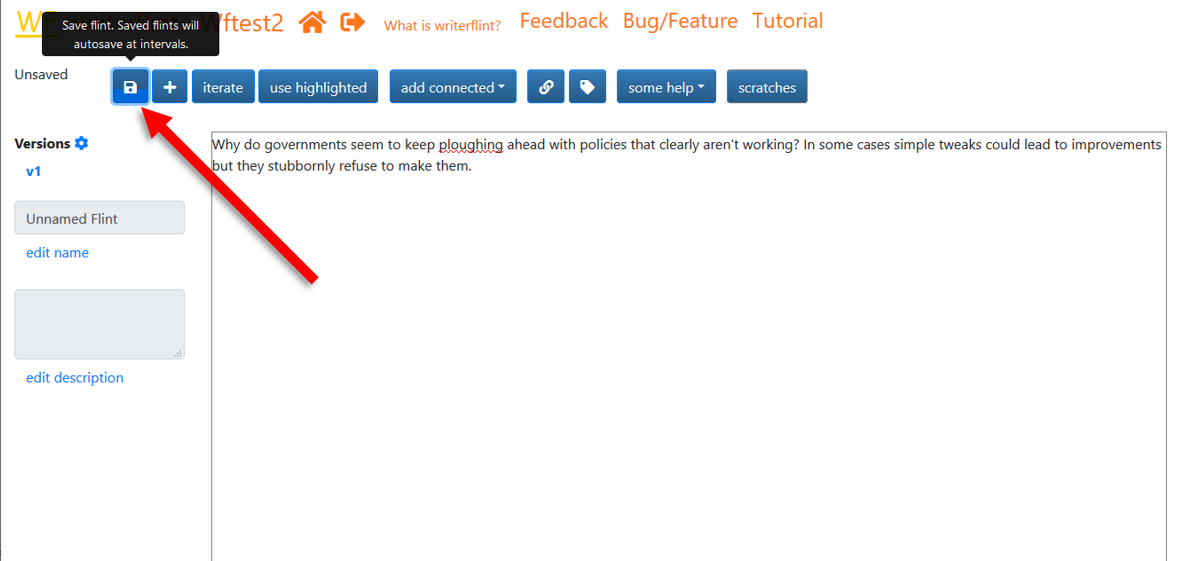
Saving the flint opens up Writerflint's other features. This is doen with the first button on the toolbar of the Edit Flint page.
Iteration 1
Knowledge increases and changes as we learn more, good writing is rewriting, and writing is explorative, so Writerflint provides an iterate function. This creates a new version whose contents are a replica of the current version's. Fearlessly use the new version to incorporate new information; the previous version is still there for you to come back or refer to just by clicking on it in the versions sidebar to the left of the content area.
In our flint, we're going to advance a hypothesis to explain
the phenomenon we are thinking about:
Perhaps it has to do with the hubris with which the policies are proposed
on the campaign trail?
Now that we've mentioned campaign trail, we realise that perhaps
we're only thinking about democratic governments, so we update the text in
this version to say so and expand on what we had before.
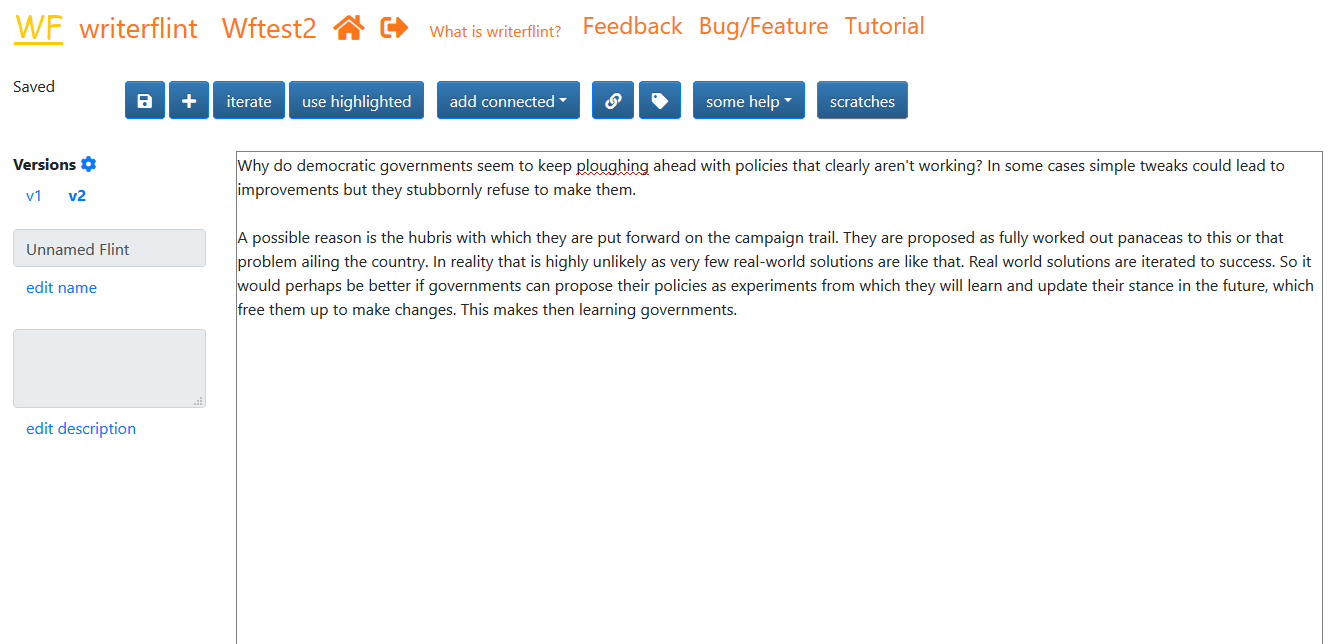
That last sentence says: This makes them learning governments.
Actually 'Learning Governments' currently seems like a good
name for our flint so let's set that. We'll click the 'edit name' text under the flint name input, enter the name then click the 'save' text which now appears there.
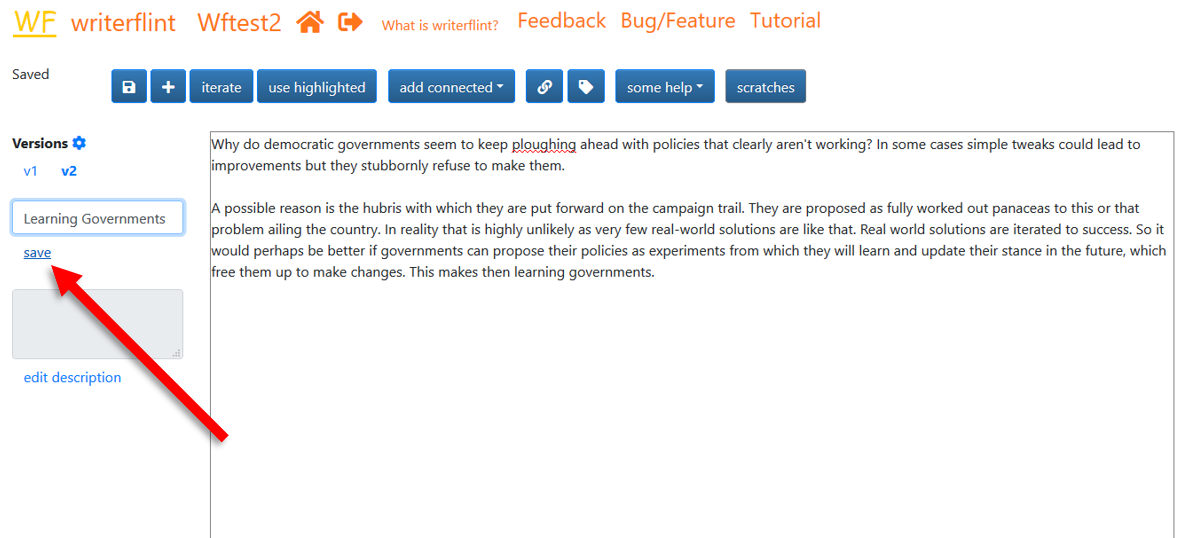
We can set a description for our flint the same way using the description area
just below the flint name area.
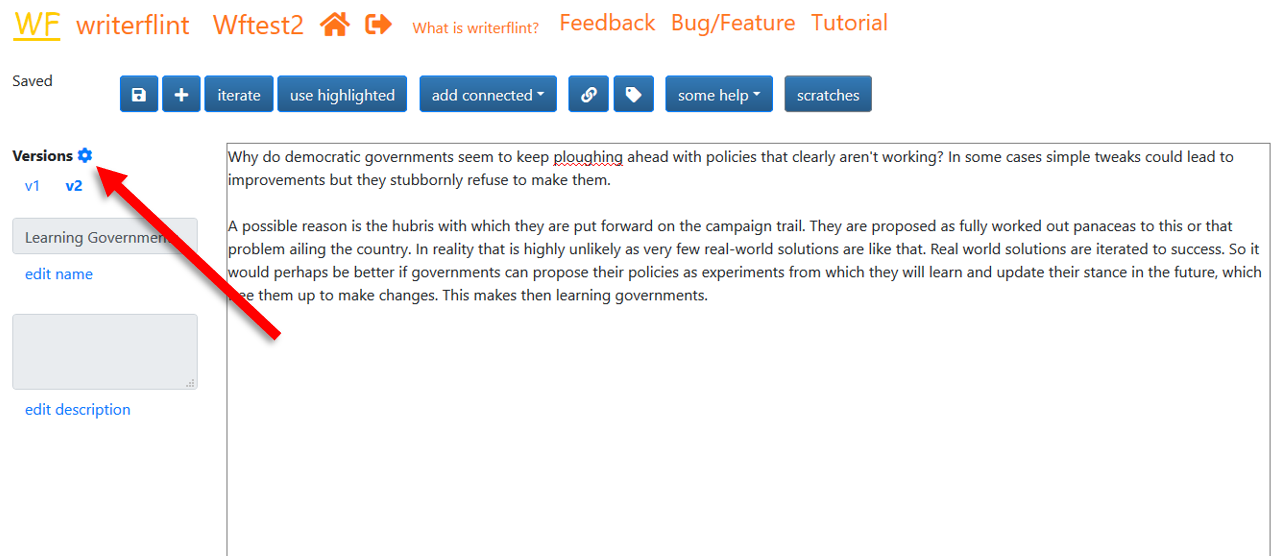
We can delete unwanted versions using the version settings button, which is the cog next to the versions section title..
Iteration 2
For the next iteration, we continue to develop our thoughts to relate to an obvious question that enters our thoughts: 'A learning government sounds like a lofty goal. How can it be implemented in practice?'. We iterate again before adding our proposal because this seems like a good enough place to do so (iteration points are totally up to you, so iterate whenever you're comfortable).
Scratches and Comments
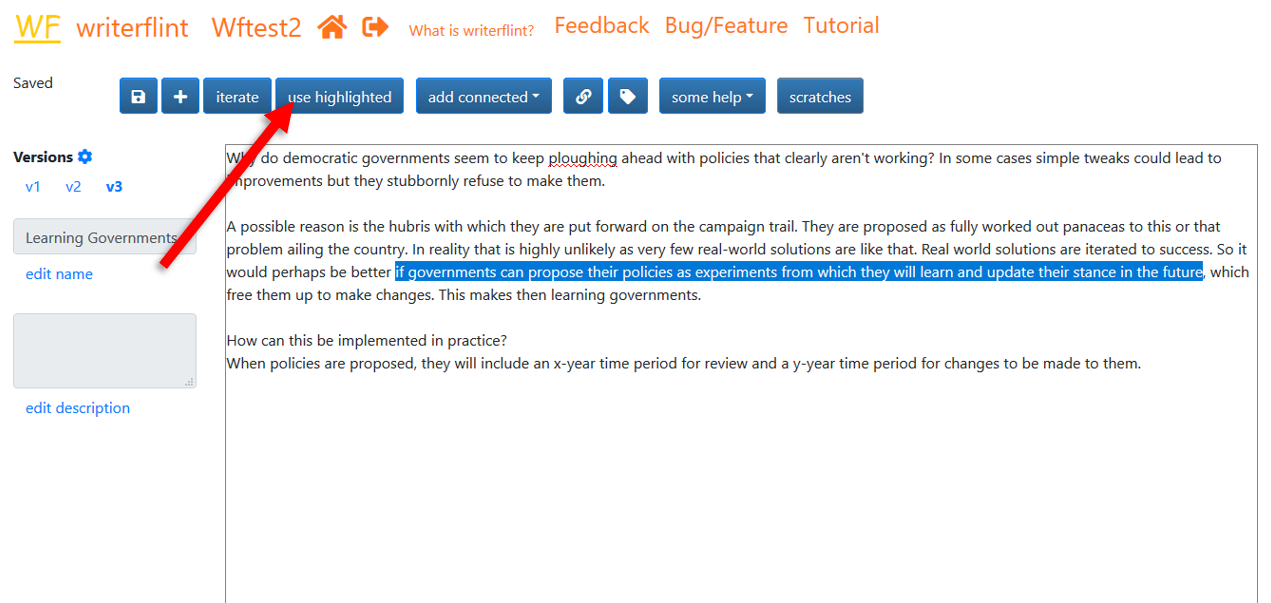
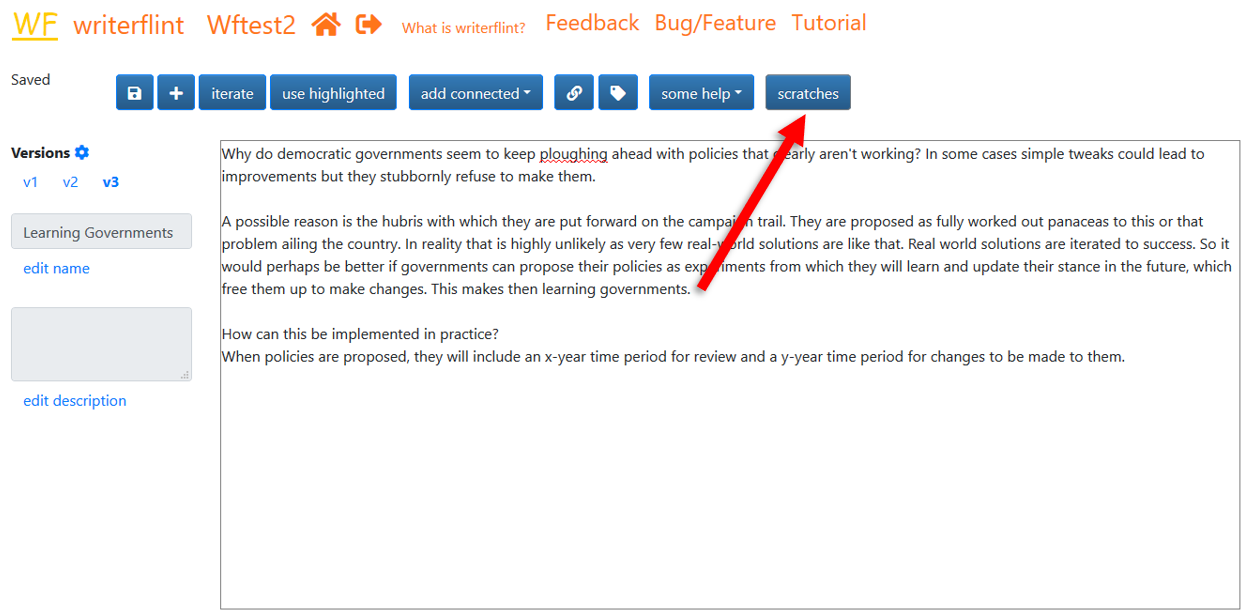
As we're typing that second iteration, we wonder how members of the electorate will react to this less-confident type of campaigning, as it is likely to be a paradigm shift from the current one. To not lose track of that thought, we create a scratch so we can perhaps think more about it later. We highlight the relevant text, click the 'use highlighted' button...
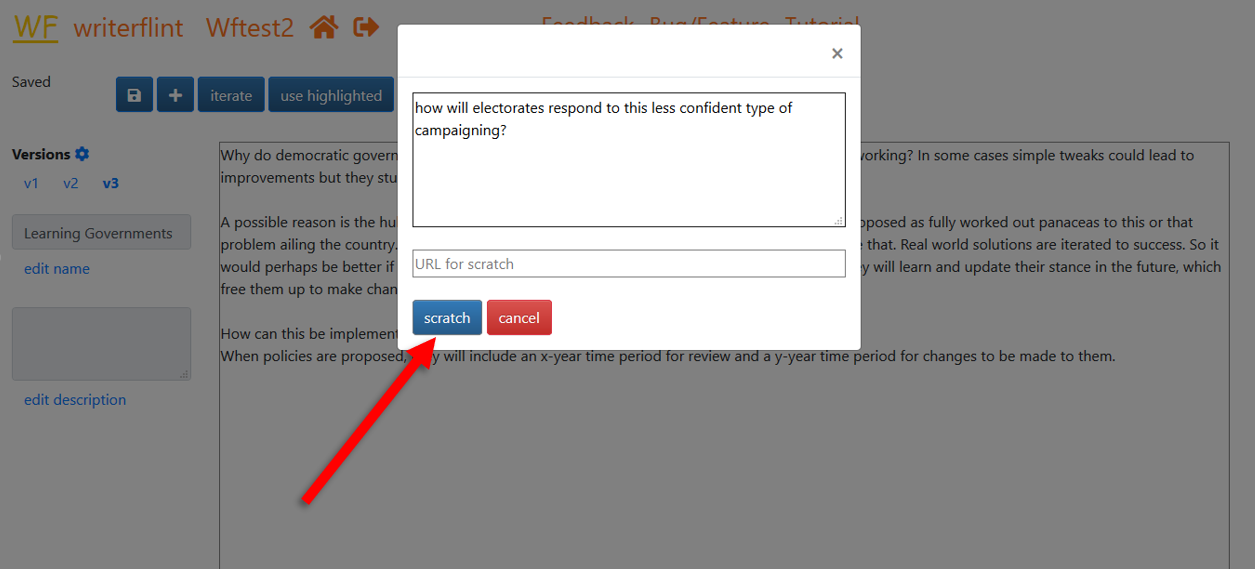
... then enter the info into the text box of the popover and click the 'scratch' button.
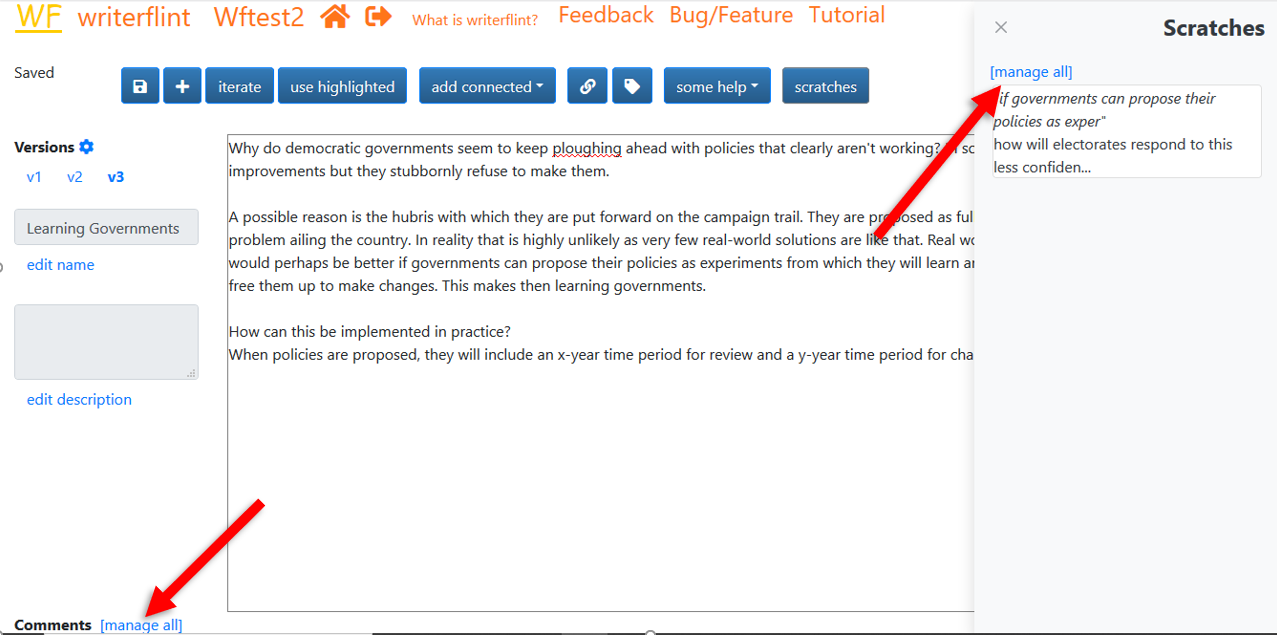
Once saved, our new scratch will be available in the scratches sidebar...
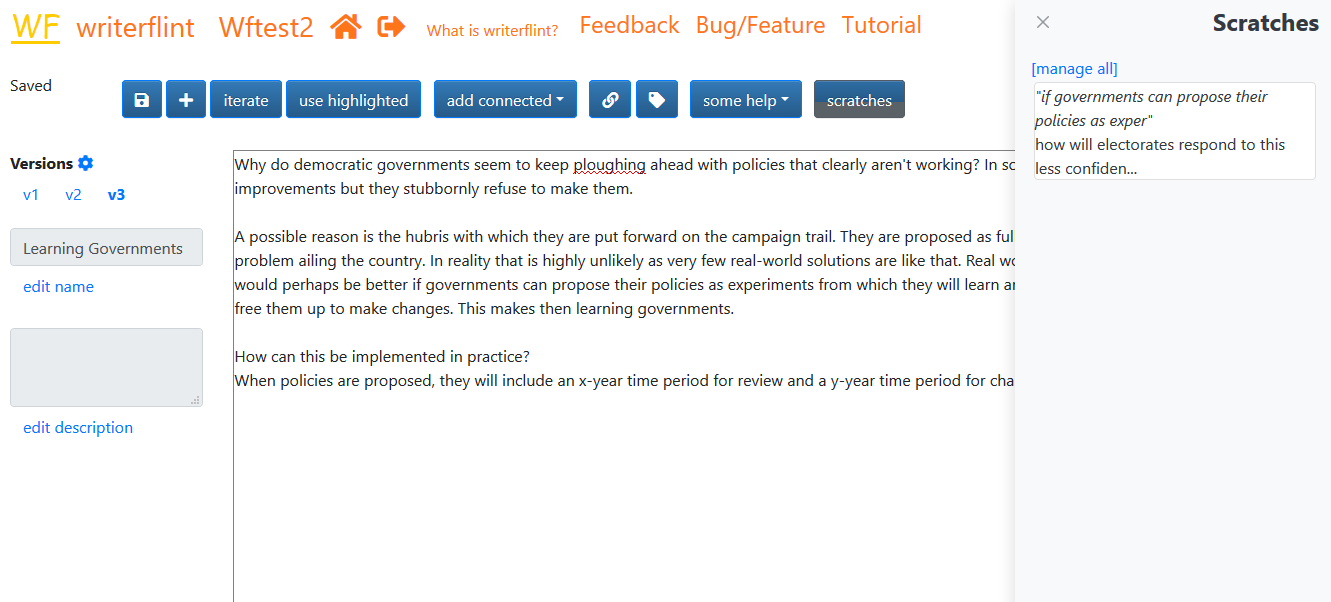
...whose view we can toggle with the 'scratches' button.
If we didn't want to tie that question to a particular bit of text in the flint, we
would have used the comment functionality at the bottom.
The Scratches and Comments areas on the 'edit flint' page only show a limited amount
of them. Use the relevant 'manage all' links to see and filter all of a version's
scratches and comments. We can also delete and change their privacy settings there.
Connected flints
As we're writing this, we start to wonder if this same reason is related to why persons take so long to retract endorsements of political candidates. That seems related, but like a large and different enough topic to flesh out later, deserving of its own flint, ideally with some indication of its connection to this one. The 'connected flints' feature provides this. We use the 'add connected' dropdown to select the name of the connection we want. Our new flint was inspired by this one so let's click 'inspires'...
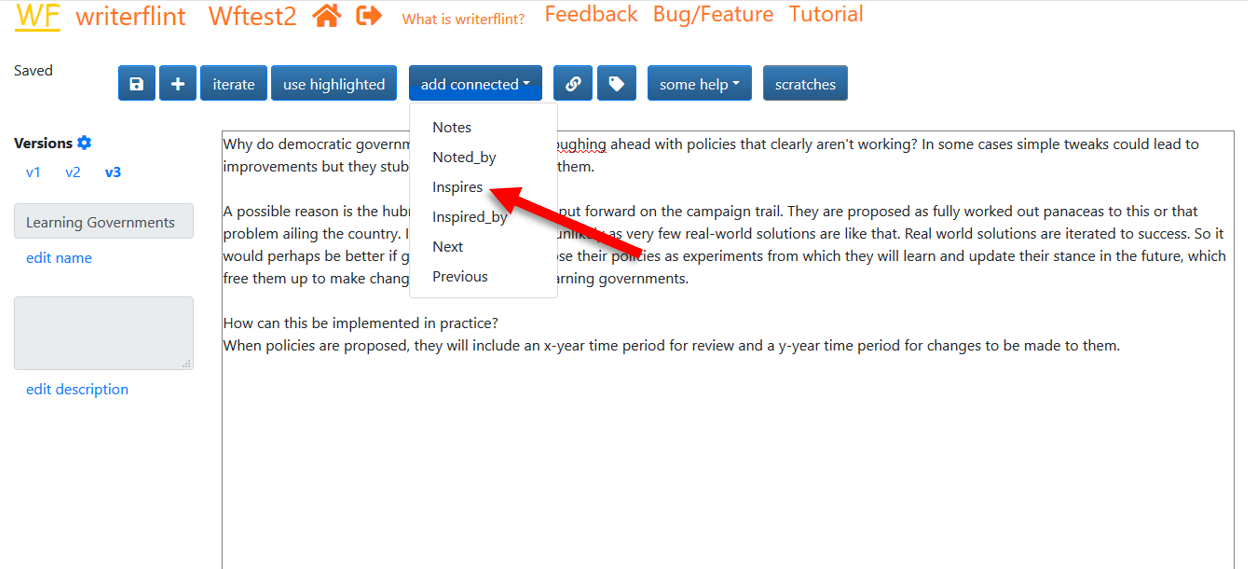
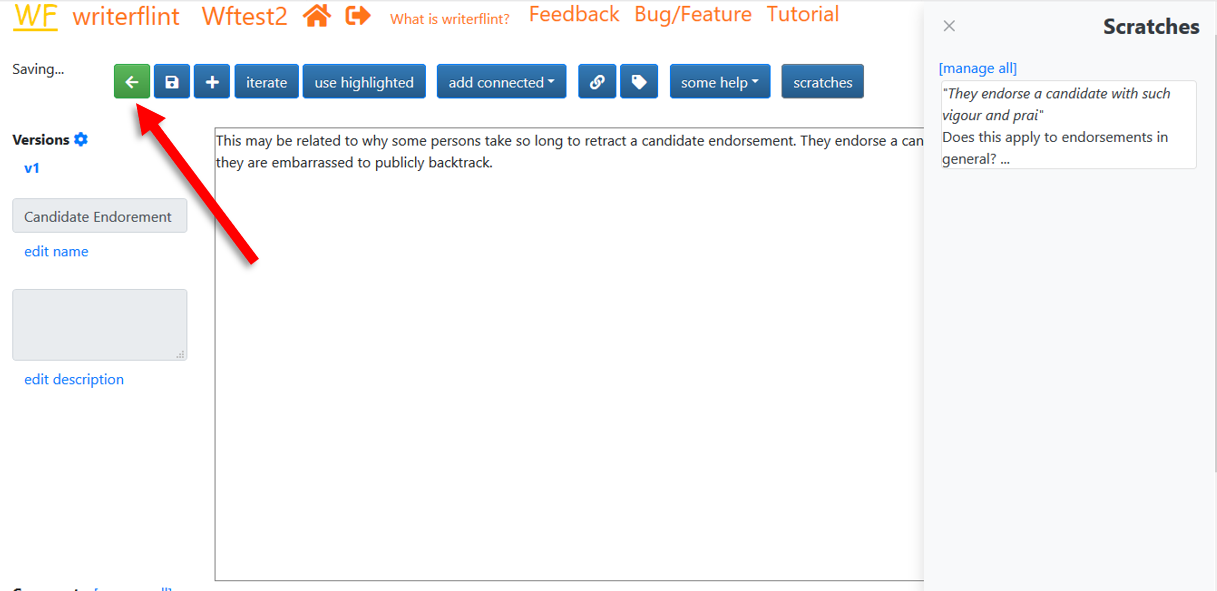
...and get a new flint to siphon off those offshoot thoughts into.
We'll also add a scratch there about another thought that pops up: does
this applies to endorsements in general?.
We appreciate this detour but are eager to get back to our original flint
about learning governments. So we name this inspired flint, then
switch back to our original flint using the green back arrow
button to the far left of the toolbar.
Sequences
Sequences are special connections. They allow us to specify the order of a sequential list of flints, so for example if we were writing a story, we could flint each chapter and link the flints as a sequence. This is done using the 'next' and 'previous' connections which are available in the same 'add connected' dropdown we used for 'inspires'. A flint is only allowed to have a single previous and next connection. When the flint is viewed by readers, the links to the next and previous flints will be displayed.
Connected flints are a powerful feature. They provide a rich and dynamic way to illustrate that multiple flints, and by extension ideas, are related to each other. They provide a fluid way to organise several possibly related pieces of the same idea or work.
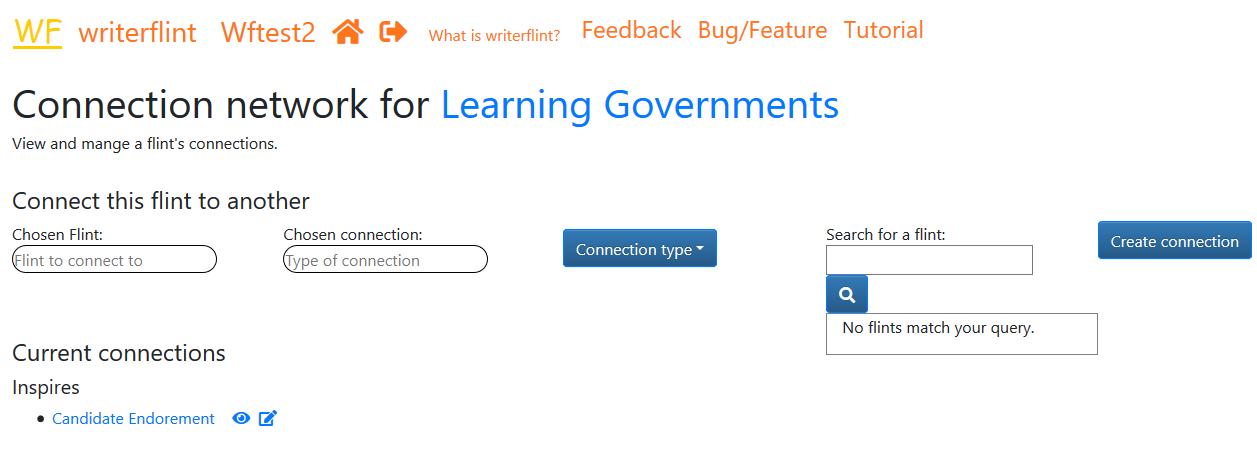
We can see, edit, toggle privacy and delete a flint's connections using the connections button
in the edit flint toolbar or on the 'View Flints' page.
Writerflint automatically creates the reverse connection to make the relationship
easier to remember (e.g. here the 'Candidate endorsement' flint would have
an 'inspired by' link with the 'Learning Governments' flint). We will develop more connection types and
features which take advantage of this in the future.
Note: If there are connection names you would like to see added, let us know
using the suggest
features form.
Sharing
At this point we want to share these thoughts with our friend who is into
governance and policy stuff. She might also have some comments or scratches to add,
or may even be motivated to do a connected flint herself. Flints can be shared
with other Writerflint users.
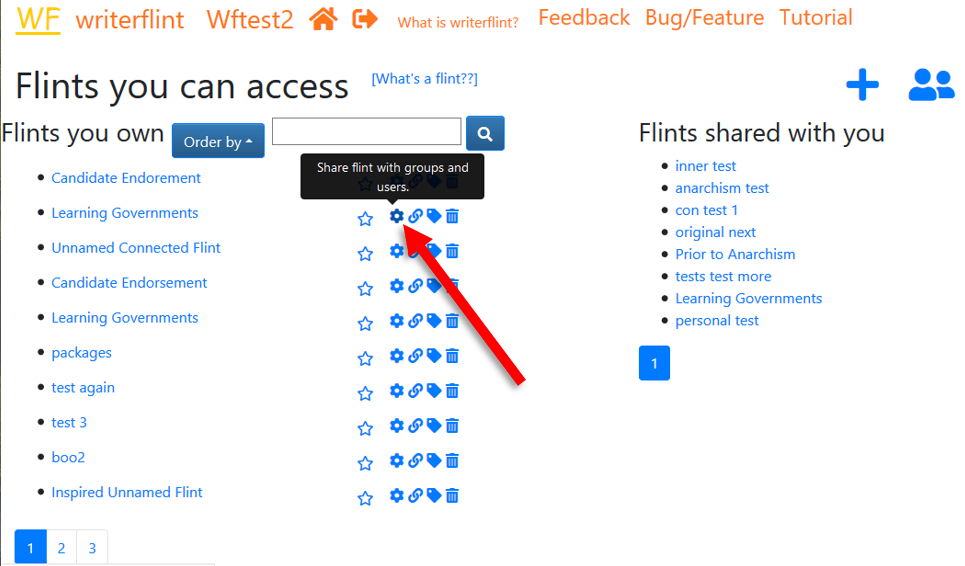
On our 'View Flints' page, we select the flint's
'share settings' button...
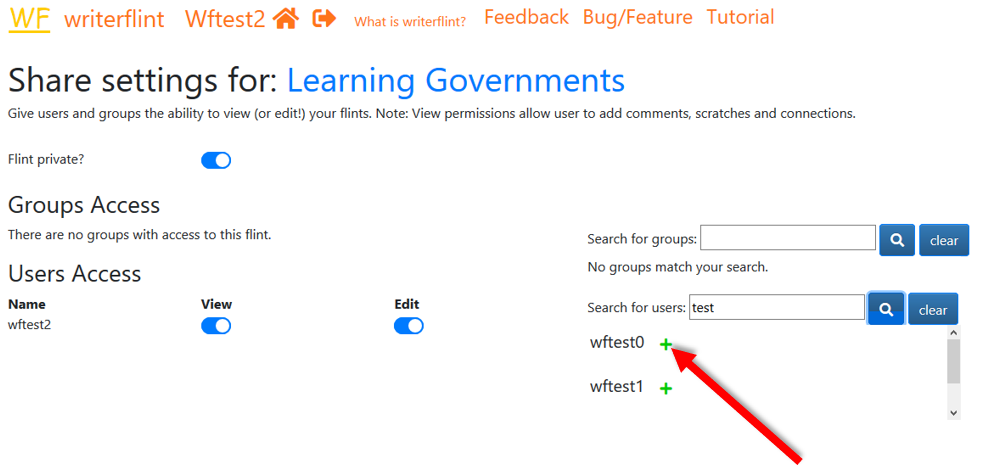
... search for her username and in the results dropdown click the '+' sign next to her name.
After a few more iterations, we might decide to share with several other
persons who might be generally interested in our ideas and are usually good
for interesting contributions. Flints can be shared with groups of Writerflint users as well.
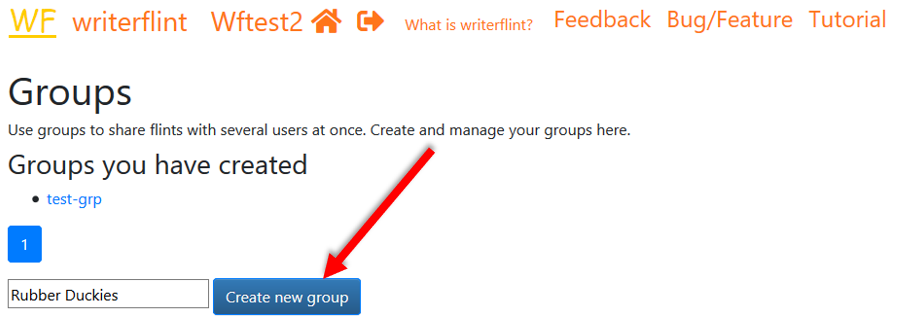
Since we may share stuff with them in the future, we'll create a group to
not have to share individually the next time.
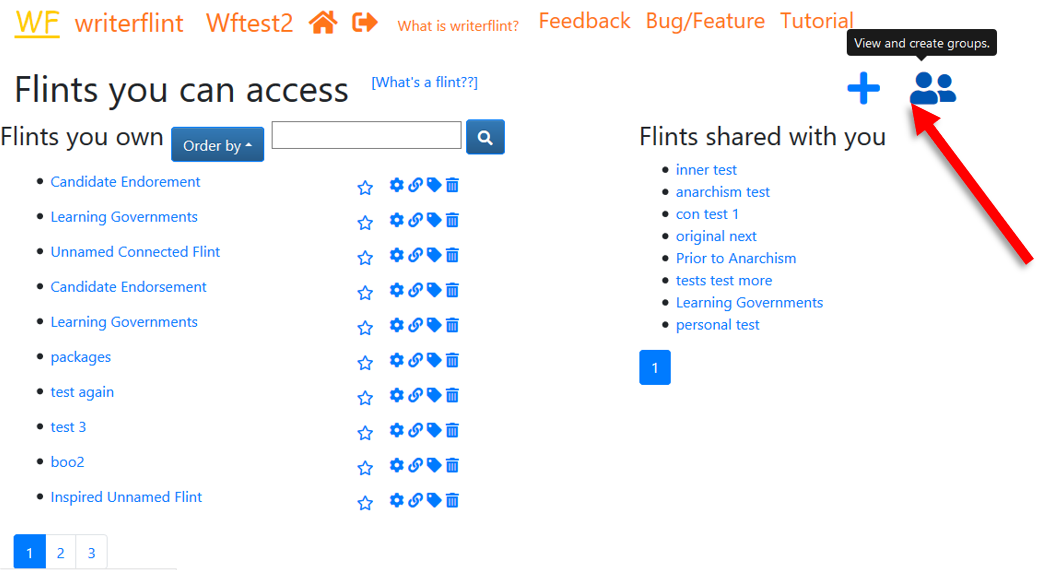
On the Home page, we use the 'groups' button to
see the groups we have.
We'll create one, then search for and add those persons to it.
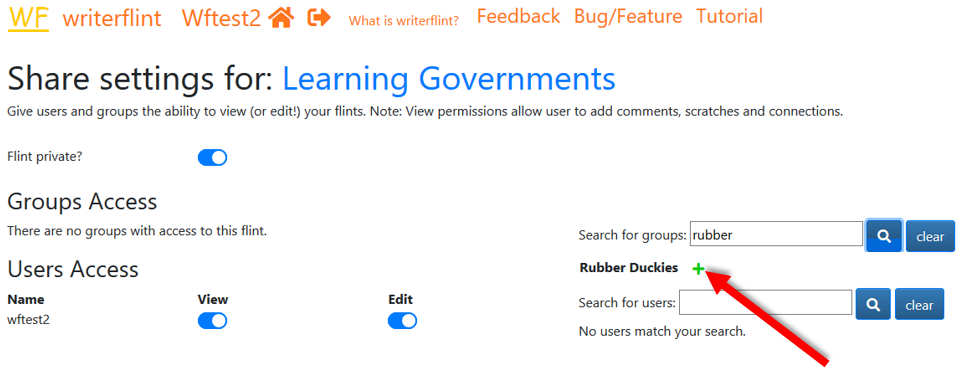
We share the flint just like we did with a single user but using the 'groups'
search instead.
If the person who we will like to share a flint with is not a Writerflint user, we can create a sharing link for them to access the flint. On the Share Settings page, under the Link Access section, we'll click the 'Create Link' button. This will create and display a link which we can share to persons and they will have read-only access to our flint. If we change our mind about this, we can come back to this page and click the 'Remove Link' button and it will invalidate the link.
Note: Each time you remove and recreate a link, it produces a new link and the old one is no longer valid. This means you will need to reshare the link, or use this mechanism to revoke access if the link is shared with persons you did not intend it to be.
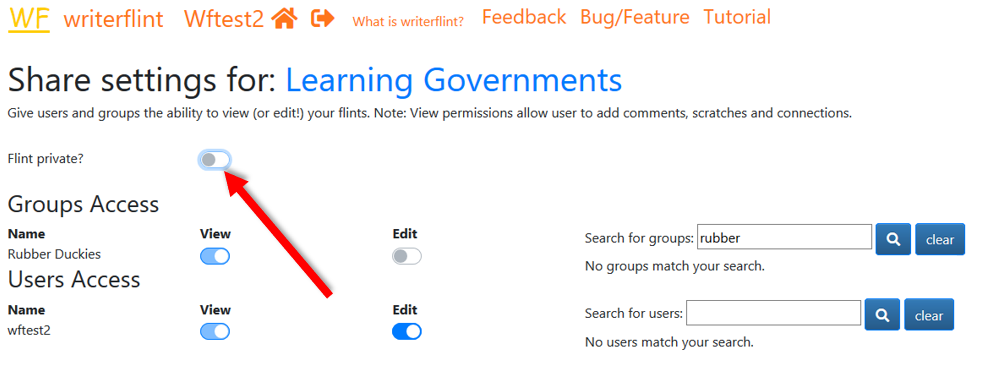
After some more iterations we are satisfied that the flint is mature enough and
we might decide we want anyone to be able to
see the flint without needing to share it directly with them. To publish or make the flint public,
we simply turn off the default 'private' setting in 'share settings'. We can
turn it back on if we change our mind.
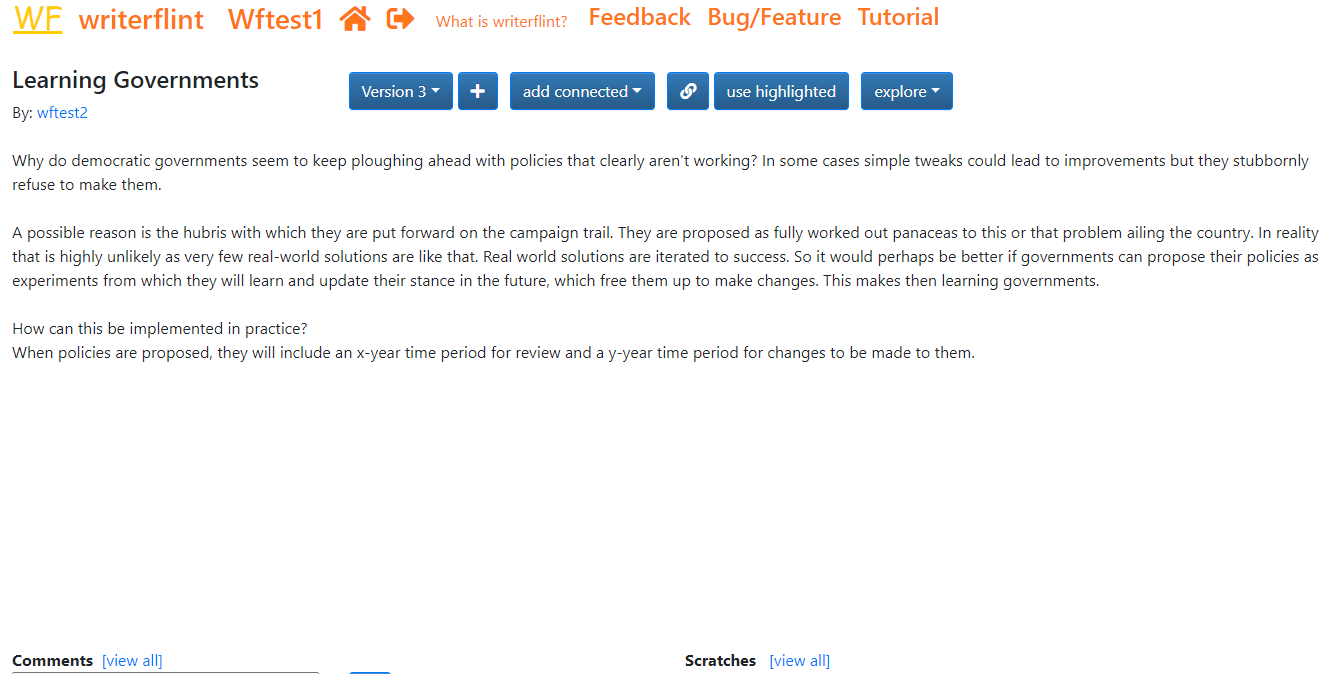
Our published flint shows up to others with most of the functionalities to interact that we have - allowing your readers to interact with the ideas in your flint and start a flame of advanced thinking on the topic!
Tags
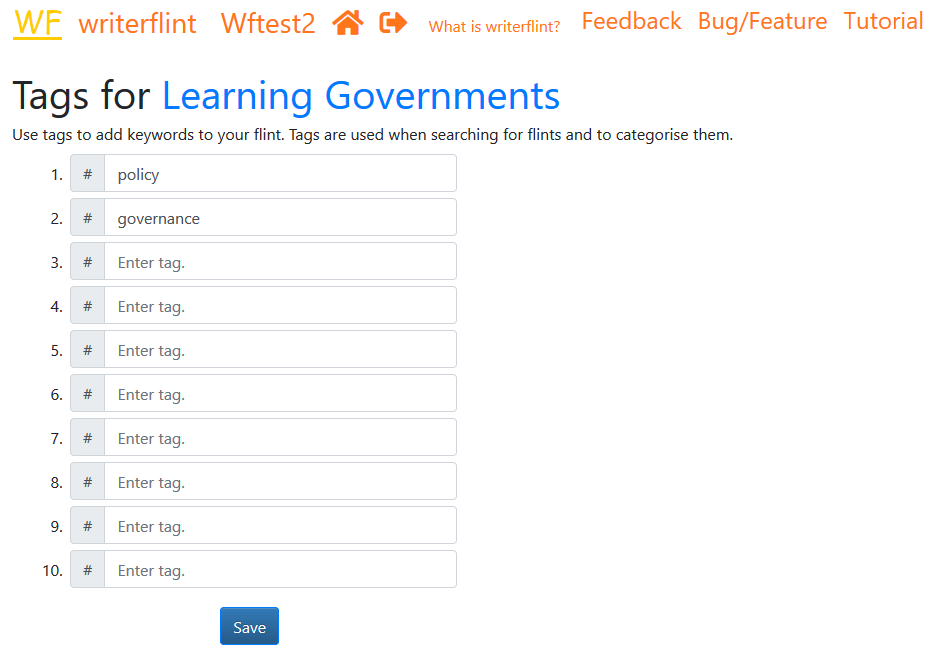
Tags let us label our flints so they can be catergorised and searched for. They function primarily as keywords which describe a flint, but there are several special tags as well (see below). We can tag a flint from the 'View Flints' page or from the toolbar inside the flint by clicking on the 'tag' icon.

Each flint is allowed a maximum of ten tags.
Special tags
Writerflint recognises some special tags:
- The 'projectname' tag is used to add a flint to a project. Projects are displayed on our 'View Flints' page (accessible via the house icon). Clicking on a project's name will display only the flints in that project, so we can focus on just that project while we're working on it (functionally a folder/directory). Using tags to group flints allows a single flint to seamlessly be part of multiple projects.
- The 'sequence' tag is used to give a name to a sequence of flints (sequences are explained above). So if we want to name our sequence 'My awesome story', we'll tag the first flint 'sequence-My awesome story' and it will display next to the flint name when the flint sequence is displayed on our profile.
- The 'rank' tag lets us order the way our flints show up on our public profile. So if we want flint 'A' to be displayed third, 'B' to be first and 'C' to be second, we tag them 'rank-3', 'rank-1' and 'rank-2' respectively.
User profile
Every user has a visible public profile which displays the flints they have made published or made public. They can control the order of the flints displayed there using the 'rank-x' tag, as explained above.
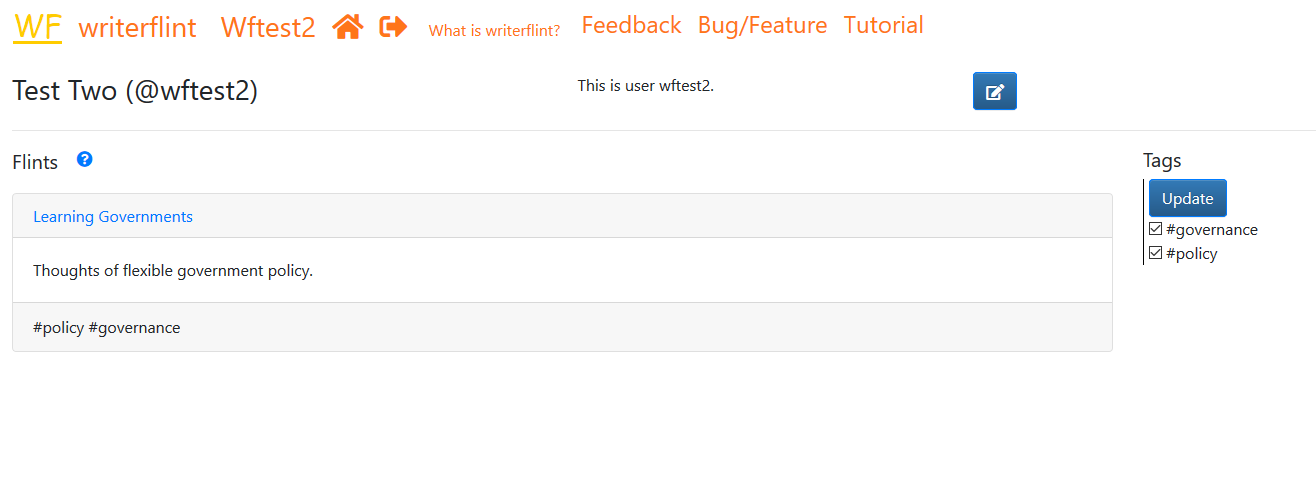
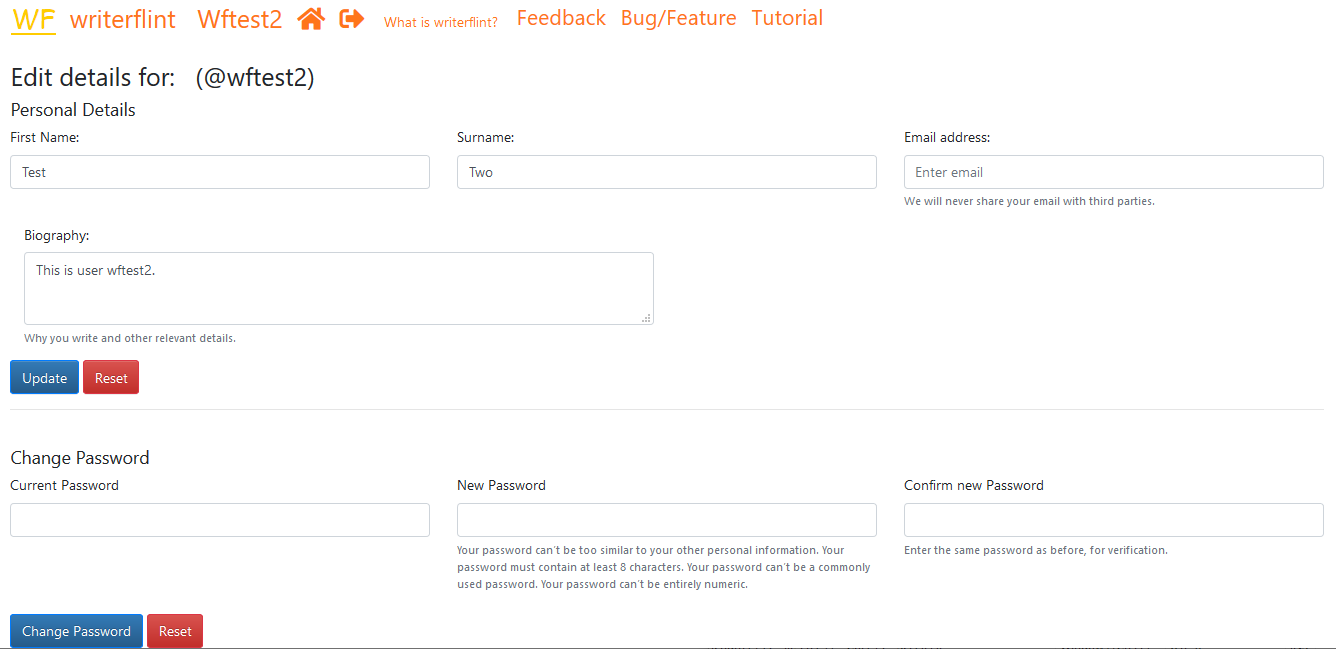
We can access our profile by clicking on our username in the top bar. We can edit our personal details (name, bio, password etc.) using the 'edit' button to the immediate right of our Bio (upper right hand corner) on the profile page.
Summing up
Writing is a uniquely effective way to explore, clarify and give life to ideas (see our philosophy). We built Writerflint to be as versatile and fluid as your thought processes as you repeatedly refine, reorganise, research and incorporate feedback on the journey from idea to a mature piece of writing.
We are constantly improving Writerflint, so expect new features to pop up and keep checking this tutorial to see what's new.
We are happy for you to suggest features or bugs as you use Writerflint.
Happy flinting!
- The Writerflint Team